Introduction
In this tutorial, you will learn how to read data from Salesforce to SQL Server using SSIS Salesforce Source.
In this article, we will extract Salesforce contacts and import them into a SQL Server database table. Also, you will learn how to do basic filtering on the contacts and get only a subset of them. Finally, we will briefly touch some additional advanced options of Salesforce Source component. Namely, you will learn how to convert datetime columns to different formats.
To achieve our goal we will use Salesforce Source SSIS component. Under the hood, it uses Salesforce API to make calls to, but you don’t have to be concerned about that:
Prerequisites
- SSIS designer installed. Sometimes it is referred as BIDS or SSDT (download it from Microsoft site).
- Basic knowledge of SSIS package development using Microsoft SQL Server Integration Services.
- A Salesforce account.
- Any SQL Server database.
- ZappySys SSIS PowerPack installed.
Step-by-Step – Read Salesforce data in SSIS
Get Salesforce Security Token
The first thing you will need to do to sync Salesforce with SQL Server is to get the Salesforce Security Token. You will need it for Salesforce Source Connector to connect to your Salesforce account:
- Log in to your account using https://login.salesforce.com.
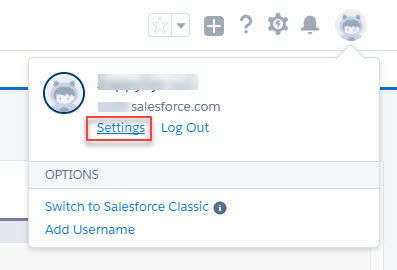
- On the top right corner, press on your profile picture and click Settings:
- On the top left corner, under My Personal Information select Reset My Security Token menu item:
- In the main window area click Reset Security Token button:
- Check your email for a new Security Token:
Import Salesforce data into SQL Server
Once you have Security Token, you can start getting contacts from Salesforce and load them into SQL Server database table:
- Open SSIS designer.
- Create a new SSIS package and drag a Data Flow Task into the Control Flow from the SSIS Toolbox:
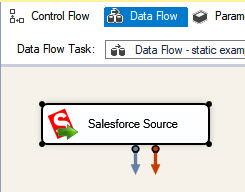
- Open Data Flow Task and then add Salesforce Source from SSIS toolbox:
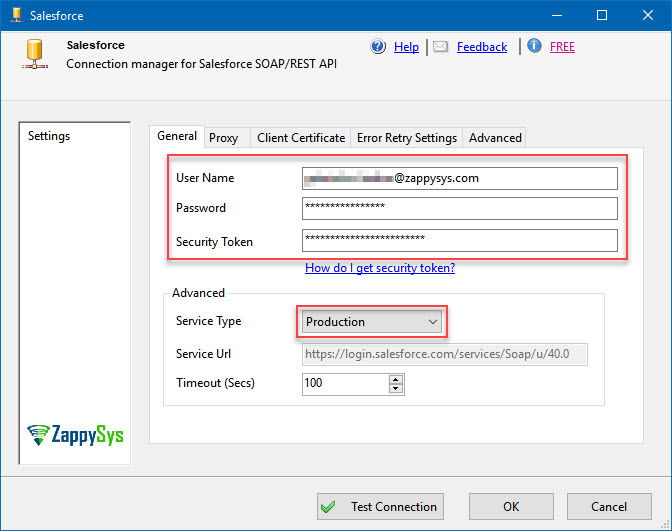
- Start modifying Salesforce Source component and then press New button to create a new Salesforce Connection:
- In a new window enter your Salesforce credentials and Security Token you have in your email. In advanced options group, you can select the environment in which the connection will work. Most likely, you want to use
Production, so just select it in Service Type option.
- Once you finished creating Salesforce Connection, select Contact as table you want to get data from. Be sure to have Table option selected in Access Mode. Also, below you can specify the size of the batch and the maximum number of rows (contacts in our case) to retrieve:
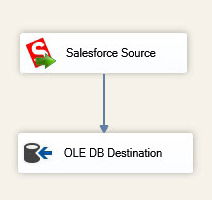
- Close Salesforce Source configuration and in the Data Flow Task drag OLE DB Destination and connect it to Salesforce Source.
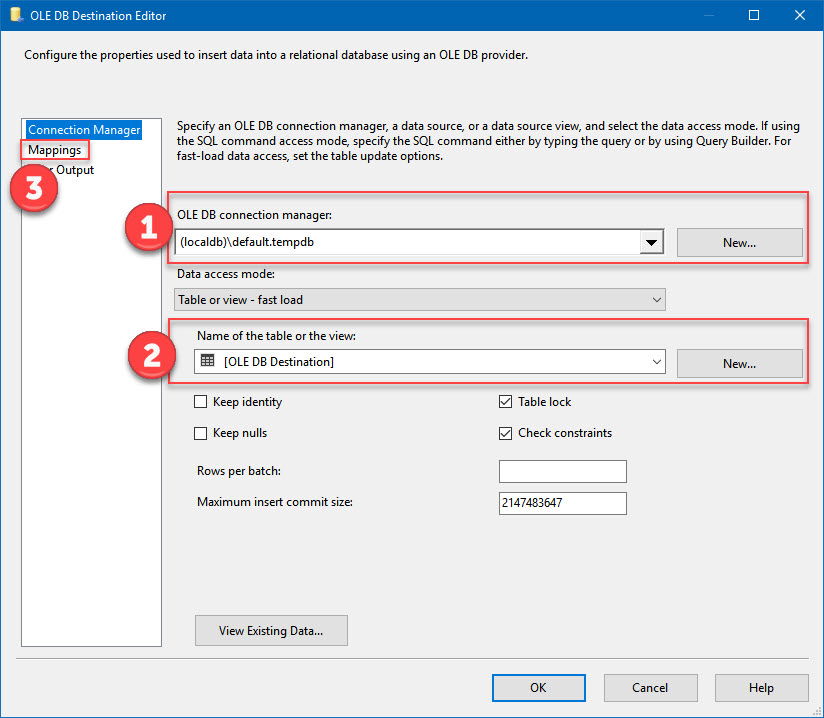
- Open OLE DB Destination configuration, select or create a new connection; in this example, we are using LocalDB and tempdb database. Then select an existing table or create a new one by pressing New button. Finally, select Mappings option to map the columns and close the window:
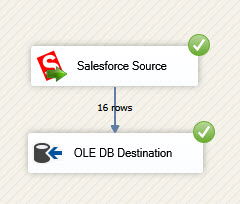
- Run the package. In this example we extract 16 contacts and load them into a SQL table:
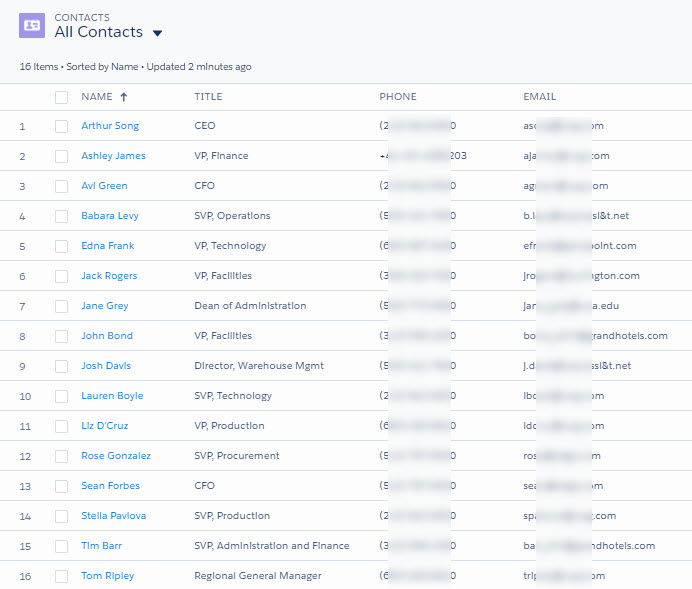
- Let’s open Salesforce page and take a look at the contacts source. We have 16 contacts here as well:
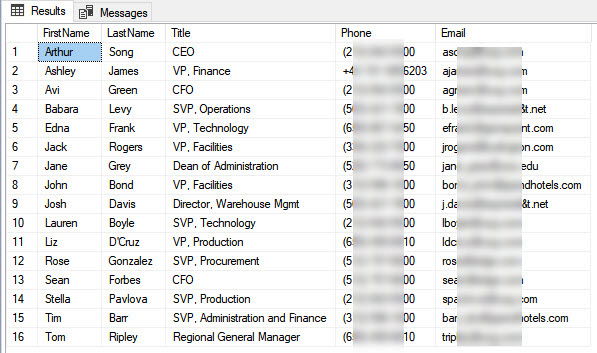
- After querying destination table using SSMS, we see that everything worked like it had to:
- You are done!
What if things are more complicated? Queries and Data Filtering
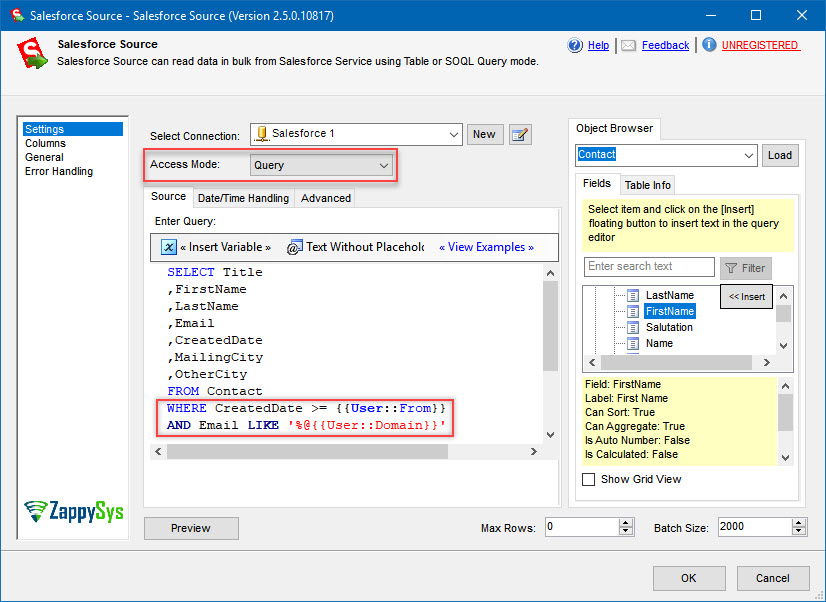
Instead of accessing data using Table mode, you can do it in Query mode. This will let you write T-SQL-like queries where you will be able to filter the data, group it, select the subset of it, etc. Let’s take the same Salesforce table Contact and do some basic filtering on it:
- First of all, let’s create several variables, which we will use to get specific Salesforce contacts:
We will use Domain to filter contacts that have email with uog.com domain.
From variable will help us filter the contacts based on the date, when they were created. - Set
Query in Access Mode option and input query below:
Even this query looks much like T-SQL query, but in reality it is a SOQL query, an acronym for Salesforce Object Query Language.
NOTE:- We are inputing {{User::From}} straight into a query and do not enclose it with single quotes, unlike in T-SQL.
- You can explore more SOQL query examples by pressing « View Examples » button.
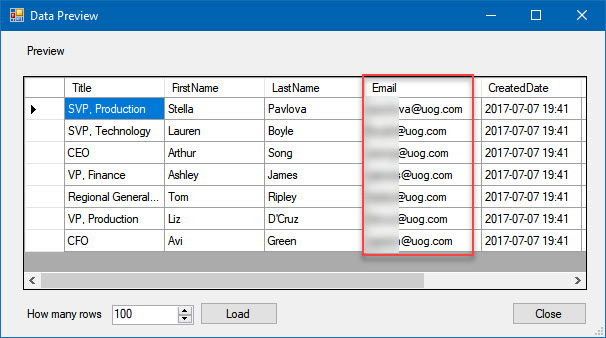
- Click Preview and you will see that only contacts that have domain “uog.com” were retrieved. Filtering on CreatedDate column was applied as well:
SOQL has some limitations, so check SOQL Limits on Objects page as well if you are writing a more complex query.
Advanced Options: Convert Datetime Columns
By default, datetime columns are outputted in yyyy-MM-ddThh:mm:ss.fffZ format. Yet you can change that and output column in other formats:
- Default format (e.g. 2017-07-07T14:41:35.000Z)
- Local time (depends on your locale settings e.g. 5/16/2017 14:41 PM)
- UTC time (depends on your locale settings, yet your time zone is taken into account, e.g. 5/16/2017 11:41 PM)
Let’s take CreatedDate column and output it as UTC time:
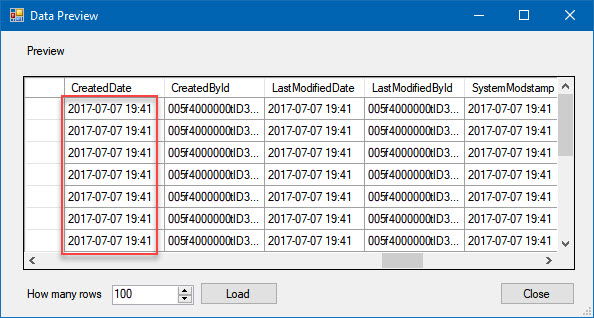
- Here is the preview of data, before conversion:
- Now let’s output the CreatedDate column as UTC time:
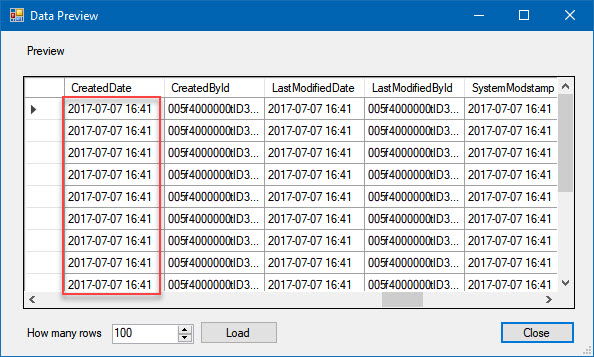
- Let’s make another data preview. As you see CreatedDate time shifted to match UTC time:
Similarly, you can format input datetime columns, when you use Query Access Mode instead of Table.
Common Errors
The most common error you may face when you run an SSIS package is truncation error. During the design time only 300 rows are scanned from a source (a file or a REST API call response) to detect datatypes but at runtime, it is likely you will retrieve far more records. So it is possible that you will get longer strings than initially expected. For detailed instructions on how to fix common metadata related errors read an article "How to handle SSIS errors (truncation, metadata issues)".
Another frequent error you may get is an authentication error, which happens when you deploy/copy a package to another machine and run it there. Check the paragraph below to see why it happens and how to solve this problem.
Deployment to Production
In SSIS package sensitive data such as tokens and passwords are by default encrypted by SSIS with your Windows account which you use to create a package. So SSIS will fail to decrypt tokens/passwords when you run it from another machine using another Windows account. To circumvent this when you are creating an SSIS package which uses authentication components (e.g. an OAuth Connection Manager or an HTTP Connection Manager with credentials, etc.), consider using parameters/variables to pass tokens/passwords. In this way, you won’t face authentication related errors when a package is deployed to a production server.
Check our article on how to configure packages with sensitive data on your production or development server.
Download Sample Package
Be sure to download a sample SQL Server 2008 SSIS package, in case you want to try it right away (you can upgrade it to a higher version).
Conclusion
In this article, you learned how to export data from Salesforce to SQL Server. We used Salesforce Source to extract contacts from Salesforce and import them into a SQL Server database table. We did not have to configure much, just a few clicks and you were done. Also you learned how to use SOQL to write custom queries and filter out the data you don’t need. Finally, now you know how to convert datetime columns into Local and UTC time to match the format you expect in your database.
Keywords
Salesforce SQL Server Integration | Data loading Salesforce | Salesforce API SQL Server | Get data from Salesforce and load into SQL Server | Read data from Salesforce and write it to SQL Server | Extract data from Salesforce to SQL Server


