Introduction
In this post you will learn how to call Sementics3 REST API using SSIS PowerPack.
Using drag and drop approach you can consume data from Semantics3 REST API service. In this post we will use ZappySys JSON Source to read data from Amazon MWS API and load into SQL Server. We will also use REST API Task to call any API from Marketplace Web service and save output into Variable.
Assumption
This post assumes following things
- You have basic knowledge of SSIS and JSON format.
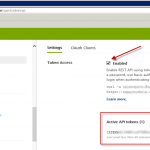
- You have registered for Semantics3 API Access. If not then it takes less than 5 minutes to register for free here to get started.
- You have tested few API calls using Semantics3 REST API Playground this will give you idea about various API you can call and parameters you need to pass.
Step-By-Step – Call Semantics3 REST API using SSIS
To consume data from any JSON Source (File or REST API) you can use ZappySys JSON Source. or REST API Task. In below example you will see how to call Semantics3 REST API and save output into SSIS Variable. With this approach you can call any API (GET / POST / DELETE / PUT)
- Download and Install SSIS PowerPack
- Create test package
- From SSIS toolbox drag ZS REST API Task and double click on the task to configure it
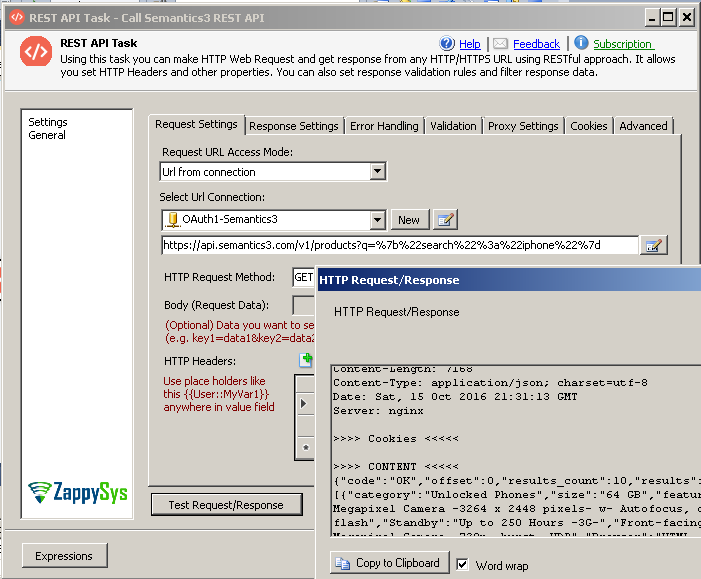
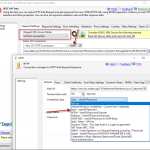
- Select Request URL Access Mode = [Url from Connection]
- Enter URL as below
In above URL1https://api.semantics3.com/v1/products?q=%7b%22search%22%3a%22iphone%22%7d
** q=%7b%22search%22%3a%22iphone%22%7d => This is your search query in URL encoded format. Data without URL encode may look like this q={“search” : “iphone” }
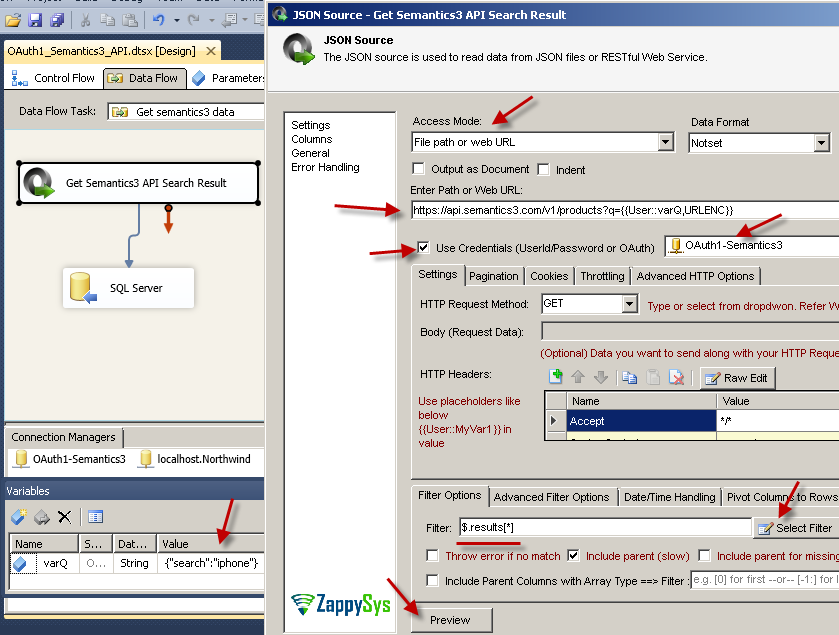
** If you have stored query in plain text (not encoded) in SSIS variable then you can use URLENC format specifier like this q={{User::varQ,URLENC}} . This will automatically encode data for you. - In Select Url Connection dropdown select New OAUTH connection option.
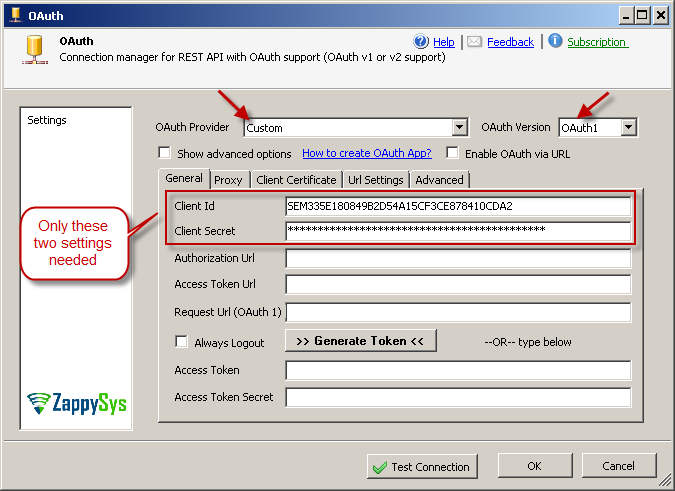
- When prompted on OAuth connection UI select Provider=Custom, Enter ApiKey (i.e. Client ID) and Secret (i.e. Client Secret). If you not sure what is this then check your Developer console > Applications Tab. Select OAuth1 from Version dropdown.
- Click OK to save UI. Do not click test because it may not work yet.
- Now click Test and see content in the Preview window.
- If you wish to save response data into SSIS variable then goto response Tab and check save option and select variable name.
Load Semantics3 data into SQL Server using SSIS (REST API Call)
In this section we will see how to use ZappySys JSON Source to read data from Semantics3 REST API and load into SQL Server
For making things simple we are calling
- Download and Install SSIS PowerPack
- Create test package
- From SSIS toolbox drag Data Flow task and double click task to go to Data Flow designer
- Drag ZS JSON Source from SSIS Toolbox
- Configure JSON Source as below. You can use Select Filter option to select hierarchy (JSON Array). Then click Preview to see data.
- Drag OLEDB destination from SSIS Toolbox.
- Connect JSON Source to OLEDB Destination and map input column to target table
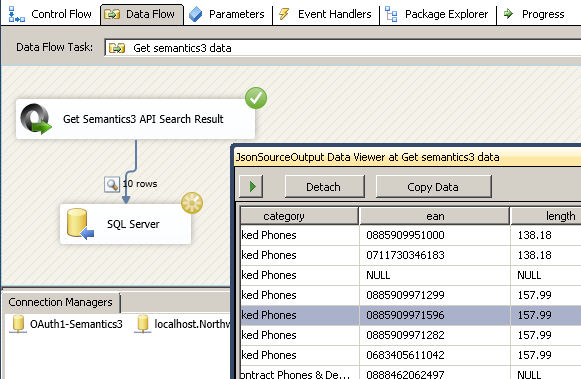
- Execute dataflow to load Semantics3 Data into SQL Server (or any destination such as File, Oracle, MySQL)
Conclusion
Semantics3 API provides great way to automate many functionality for searching and ordering millions of products into your custom App. Using ZappySys SSIS PowerPack you can consume data from any REST API or Web service without replying on SDK / coding approach (e.g. C#, Java, Python, Ruby).

