Introduction
 ShipStation is a leading shipping and order management platform used by eCommerce businesses to manage orders, shipments, and fulfillment across multiple sales channels. Many organizations need ShipStation data in SQL Server for reporting, logistics analytics, and fulfillment performance tracking.
In this tutorial, you will learn how to connect to the ShipStation REST API using SQL Server Integration Services (SSIS) with the ZappySys SSIS PowerPack. This approach helps you build repeatable ETL pipelines without writing custom API integration code.
Prerequisites
Before we perform the steps listed in this article, make sure the prerequisites are met:- Basic knowledge of SSIS package development using Microsoft SQL Server Integration Services.
- Make sure the SSIS designer is installed.
- Download and install ZappySys SSIS PowerPack.
Steps
Get ShipStation API Credentials
- Sign in to your ShipStation account.
- Go to Account Settings → API Settings.

ShipStation – Settings
- Generate your API Key and API Secret — store both values securely.

ShipStation – Generate token
1
Create an HTTP Connection in SSIS
- Create or open your SSIS project and package.
- In Connection Managers, right-click and select New Connection….
- Select ZS-HTTP from the SSIS connectors list.
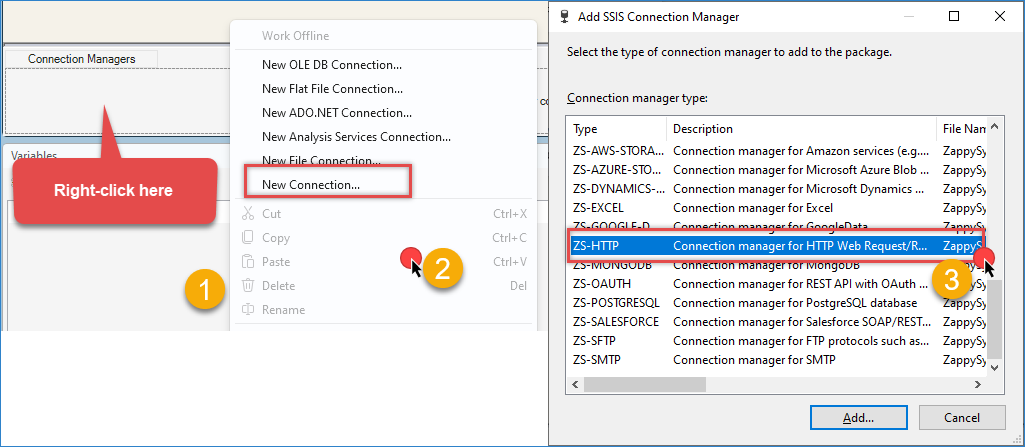
Create a new HTTP connection.
- Set Credentials Type to Basic Auth.
- Enter your API Key in the Username field and your API Secret in the Password field.
- Click OK to save the connection.

ShipStation – HTTP connection
Create and Configure JSON Source
- Drag a Data Flow Task into Control Flow and open it.
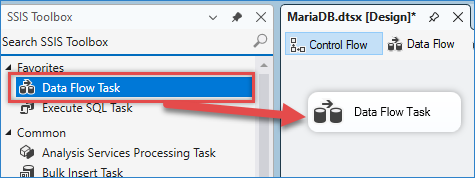
Drag and drop Data Flow
- In Data Flow, drag and drop the ZS JSON Source.
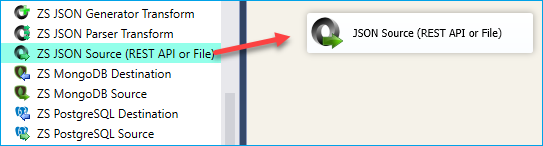
SSIS JSON Source – Drag and Drop
- Open the JSON Source editor and enable Use credentials.
- Select the ShipStation HTTP connection you created earlier.
- Set the API URL. Example to extract orders:
1https://ssapi.shipstation.com/orders
- Set the HTTP Request Method to GET.
- Add the following HTTP Header:
- Accept: application/json
- Set JSON Path Filter based on the endpoint. Each ShipStation endpoint wraps its array under a named key — for example:
- Orders:
$.orders[*] - Shipments:
$.shipments[*] - Products:
$.products[*] - Customers:
$.customers[*]
- Orders:
- Click Preview to confirm rows are returned, then click OK.

ShipStation – JSON Source configuration
Configure Destination Component
- Add an Upsert Destination (or another destination of your choice, such as a Trash destination or JSON/CSV/XML destination).
- Connect the output arrow from JSON Source to the destination component.
- Configure your SQL Server connection and target table.
- Select the options you want to use: Insert and/or Update.
- Map the source columns to destination columns in the Mappings section.
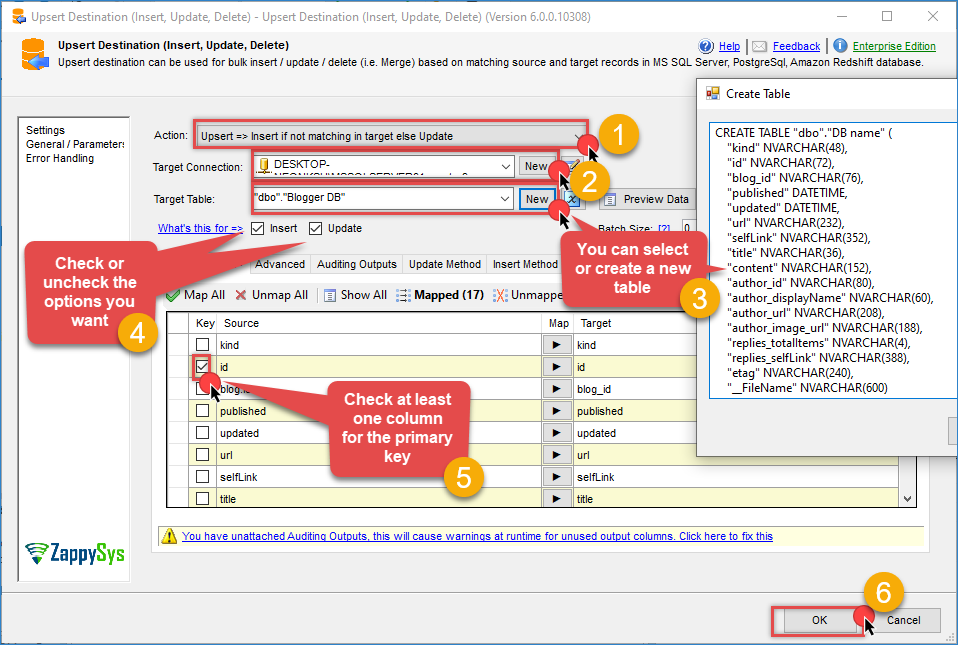
ShipStation – Upsert destination
- Click OK and execute the package.
- Validate that ShipStation rows have been loaded into your SQL Server table.
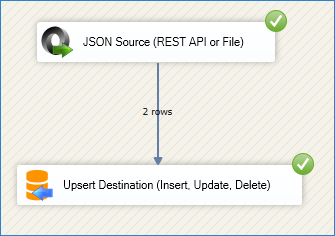
ShipStation – Upsert Destination example
Conclusion
You now have a working SSIS integration to extract ShipStation data using ZappySys SSIS PowerPack and the ShipStation REST API. With this pattern, you can automate extraction of orders, shipments, products, and customer data into SQL Server for reporting and fulfillment analytics.
Explore the full capabilities of the ZappySys SSIS PowerPack to optimize your data integration tasks. By applying this pattern, you can extend your solution to include transformations, data validation, error handling, and scheduling through SQL Server Agent.
Need Help?
If you encounter any issues, our support team is here to help:
- Live Chat: Open the chat widget (bottom right of this page)
- Email: support@zappysys.com
- Support Center: Support | ZappySys