| Property Name |
Description |
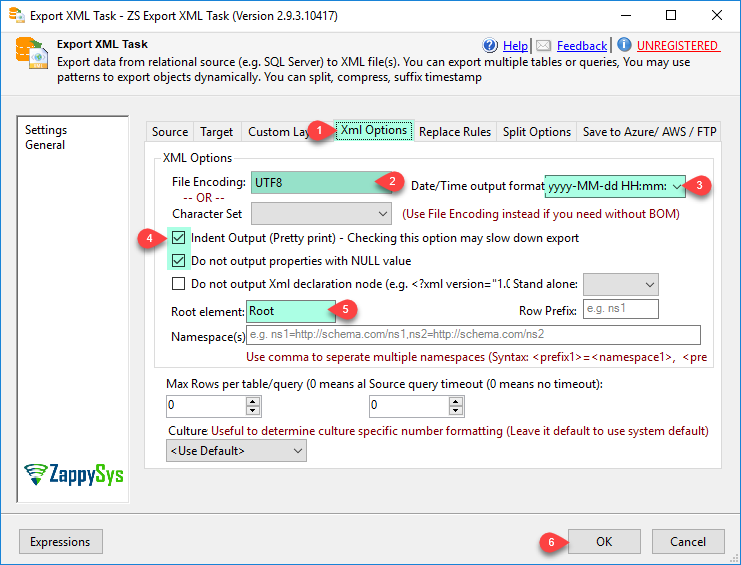
| DoNotOutputXmlDeclaration |
Controls weather you need to output XML declaration node (e.g. <?xml version="1.0" ?>) |
| XmlStandalone |
Standalone attribute for XML declaration (Leave blank to exclude this attribute). This attribute is usually used when you have DTD validation in XML which is not very common. |
| RootElementName |
Document root node (First node after XML declaration) |
| RowElementName |
Row element name for each data row. This is not applicable if you use custom layout. |
| Namespaces |
Prefix and namespaces you would like to use for your XML attributes/elements. You can enter multiple prefix and namespace url using key value pair (separated by comma). Example: ns1=http://abc.com/schema1,ns2=http://abc.com/schema2 |
| Prefix |
Prefix for Root element. If you don't use Custom Layout then this prefix will be applied to all elements. For example if you want to output element like <ns1:Root> then set prefix ns1 here. |
| IgnoreStaticAttributeForEmptyNestedPropertyCheck |
Ignore static attribute from nested element check when [Do not output empty nested elements] is checked |
| HasMapSupport |
|
| FileFormat |
Available Options (Use numeric value listed in bracket if you have to define expression on this property (for dynamic behavior).
| Option |
Description |
| Unknown [0] |
Unknown |
| Csv [1] |
Csv |
| Xml [2] |
Xml |
| Json [3] |
Json |
| Excel [4] |
Excel |
| Pdf [5] |
Pdf |
| Html [6] |
Html |
|
| DoNotOutputNullProperty |
Do not output property if value is NULL. By default NULL value also output in file (e.g. {"Email": null} --OR-- <email xsi:nil="true"></email>) |
| DoNotOutputEmptyNestedProperty |
Set this option to True if you dont want to output empty nodes of sub document (e.g nested property). This option is only applicable if you enabled DoNotOutputNullProperty. If all child peoprties are NULL for parent node then by default output contains empty nodes (e.g. CountryInfo: { CityInfo: { } } for Json --OR-- <CountryInfo><CityInfo /></CountryInfo> for Xml). You can enable this option to avoid such empty nodes from the output. |
| SingleDatasetArray |
Produce document with array from main dataset without need for additional dataset join |
| IndentOutput |
Indent JSON output |
| CharacterSet |
Character set for generated output. If you set this property then Encoding property is ignored. If you need to export data with encoding without BOM (preamble) then set this property to blank and use Encoding property (It has option to pick with BOM or without BOM). |
| Encoding |
File encoding Type (e.g. ASCII, UTF8...)
Available Options (Use numeric value listed in bracket if you have to define expression on this property (for dynamic behavior).
| Option |
Description |
| Default [0] |
Default |
| ASCII [1] |
ASCII |
| UTF8 [2] |
UTF-8 |
| UTF16 [3] |
UTF-16 LE (i.e. Unicode Little Endian) |
| UTF32 [4] |
UTF-32 |
| UTF8WithoutBOM [5] |
UTF-8 Without BOM |
| UTF32WithoutBOM [6] |
UTF-32 Without BOM |
| UTF7 [7] |
UTF-7 |
| UTF7WithoutBOM [8] |
UTF-7 Without BOM |
| UTF16WithoutBOM [9] |
UTF-16 Without BOM |
| BigEndian [10] |
UTF-16 BE (i.e. Unicode Big Endian) |
| BigEndianWithoutBOM [11] |
UTF-16 BE Without BOM |
|
| InnerObject |
|
| DateFormat |
Custom display format for date/time value with time part. Keep blank to use default format (e.g. yyyy-MM-dd HH:mm:ss). You can use any valid Standard or custom format specifiers. For standard Date Format use short letters (e.g. d, D, f, F, g, G...) listed here https://learn.microsoft.com/en-us/dotnet/standard/base-types/standard-date-and-time-format-strings. For custom Format specifiers (e.g. yyyy-MM-dd) use any valid values (e.g. d,dd,M,MM,MMM,MMMM,yy,yyyy,H,HH,h,hh,m,mm,s,ss,f,ff,fff,K,t,tt,T,TT,z,zzz...) from here https://learn.microsoft.com/en-us/dotnet/standard/base-types/custom-date-and-time-format-strings. Enter just dot (.) to use default format. This is useful when PreserveFormatting=true and you don't want to use custom format for date time cells. By default PreserveFormatting option is ignored for Int64, Date and DateTime cells and custom format is applied. All other datatypes will respect PreserveFormatting option. If you do not use format for date time then by default numeric value is displayed which you manually have to adjust first time and then PreserveFormatting option helps going forward. |
| ProgressIntervalRows |
Specify after how may rows you want to report progress in log |
| Timeout |
Command Timeout for source query. 0 means no timeout |
| ThrowErrorIfSourceDataMissing |
When this setting is true then Source data must have one or more records otherwise task will fail with error. |
| Connection |
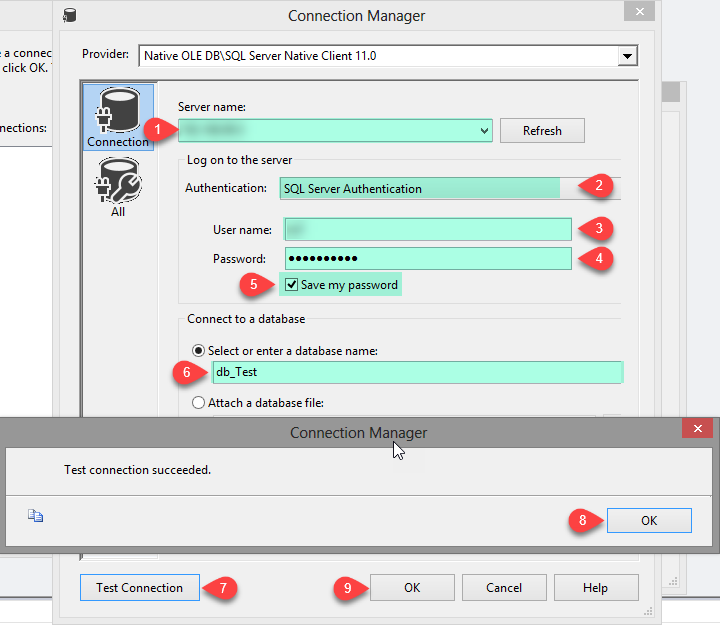
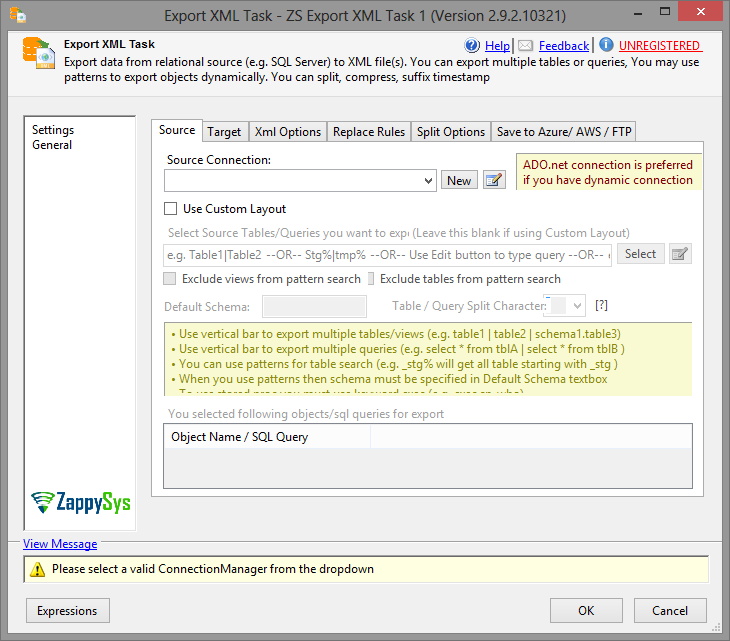
Connection for source table/query from which you want to export data. This can be valid ADO.net or OLEDB connection Manager Name or ID |
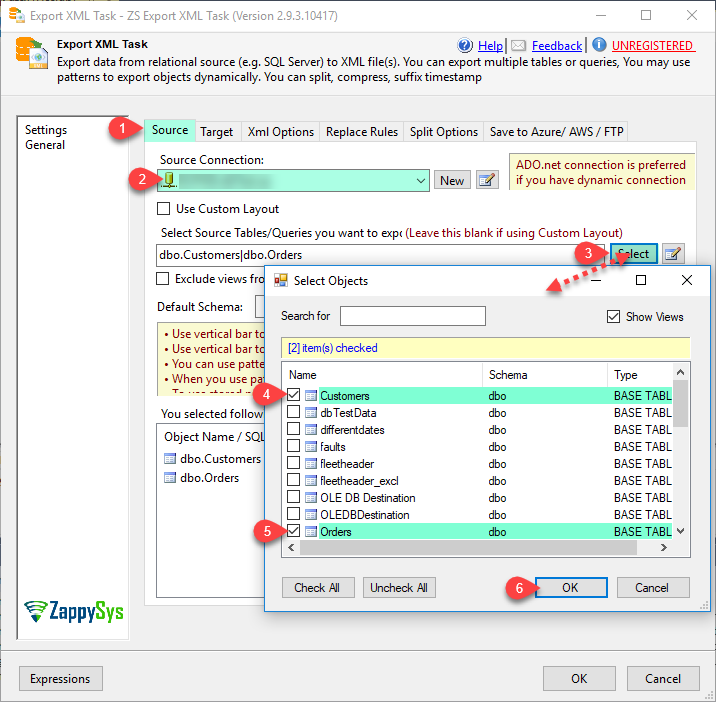
| Source |
Source for the data. This can be table(s), query, view(s) or proc. If its other than table or view then you must specify --proc or --query parameter to indicate access mode. You may list multiple objects by separating them using vertical bar (e.g table1|table2|view1). You can also use pattern for objects (e.g. cust%|prod%) |
| SourceSplitChar |
Separator to split multiple source objects / sql queries. If certain characters found in your sql query (e.g. | ) then use this property to specify custom split character. |
| Schema |
Schema name or pattern to search for objects when object name contains pattern (e.g. Cust%) |
| ExcludeViews |
If pattern used on object name then do not include matching views in the objects to export. |
| ExcludeTables |
If pattern used on object name then do not include matching views in the objects to export. |
| UseMappingFile |
Use custom layout and additional processing instructions per column. This option is only valid for JSON Export at this moment. |
| MappingAccessMode |
AccessMode for Mapping file. This determines how mapping information will be read at runtime
Available Options (Use numeric value listed in bracket if you have to define expression on this property (for dynamic behavior).
| Option |
Description |
| DirectValue [0] |
Direct value |
| ValueFromVariable [1] |
Direct value from variable |
| DirectPath [2] |
File path or web URL |
| PathFromVariable [3] |
File path or web URL from variable |
|
| MappingDirectValue |
Mapping information in the format of XML |
| MappingVariable |
Variable which holds mapping information |
| MappingFilePathVariable |
Variable which holds mapping file path |
| MappingFilePath |
Mapping file path which contains custom layout and additional information |
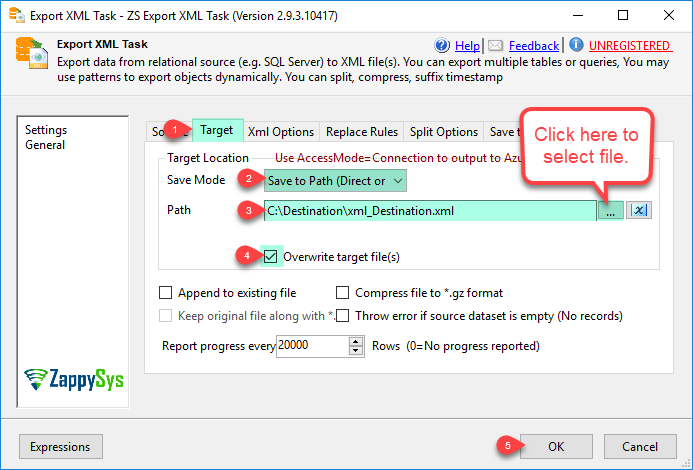
| Target |
Target file or folder path |
| TargetAccessMode |
AccessMode for response content write
Available Options (Use numeric value listed in bracket if you have to define expression on this property (for dynamic behavior).
| Option |
Description |
| Direct [0] |
Direct |
| Variable [1] |
Variable |
| Connection [2] |
Connection |
|
| TargetVariable |
Variable in which you want to save response content |
| TargetConnection |
Target file connection where you want to write response content |
| Append |
Append data at the end of file |
| Overwrite |
Overwrite target file if exists |
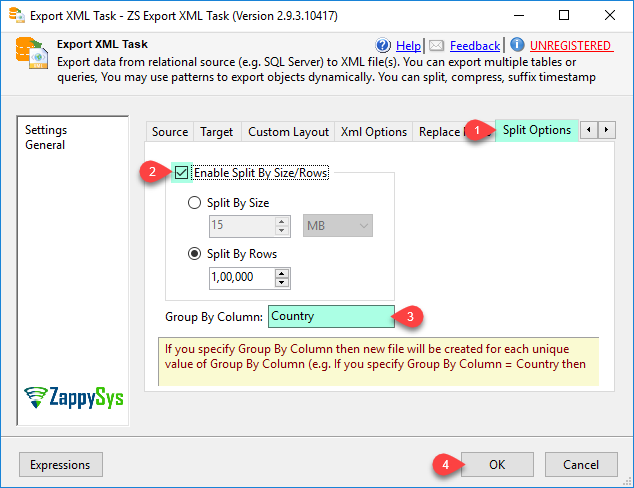
| GroupByColumn |
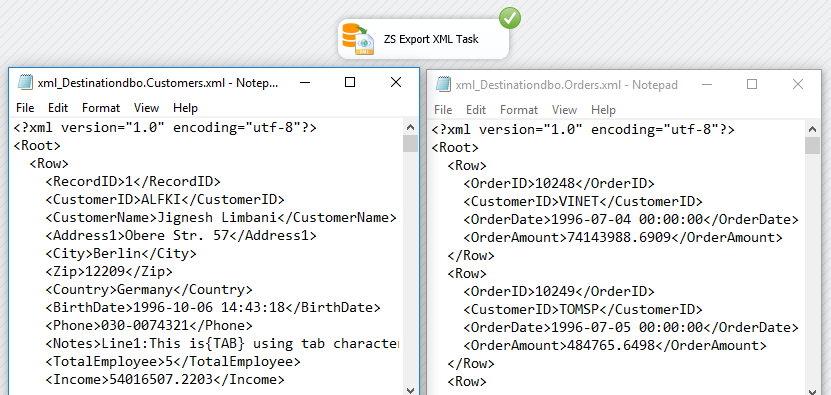
Split files by group by column value. e.g. if you group by Country field then you will have one file for each country. Country name will be used as file name suffix. If you specify --split option then you may have more than one file for each value in group by field depending on split size/rows you specify |
| Compress |
Compress file in gzip format |
| KeepRaw |
Keep source file after compressing it when --gzip option enabled. By default source file is deleted once its compressed. |
| EnableCustomEscapeSequence |
Enable this option to define custom replacement rules (See also CustomEscapeSequenceRule). Replacement rule should contain key=value pairs separated by semicolon. You can hard code character directly or use designated keyword (e.g. supported keywords are {doublequote} {semicolon} {tab}, {cr}, {lf}, {null}). You can also use Hex chars to search (e.g. \xff44=something). Use blank value in the second part to replace with blank. Example: {null}=\0;"="";{semicolon}=\{semicolon};{cr}=\r;{lf}=\n;{tab}=\t;{columndelimiter}=\{columndelimiter};\xff32=;\xff31=;{null}=; |
| CustomEscapeSequenceRule |
Define custom replacement rules to search and replace certain characters. This option is only valid when EnableCustomEscapeSequence=true. Replacement rule should contain key=value pairs separated by semicolon (i.e. ; ). In the key=value pairs, left side you have to define character to be searched and on the right side replacement value. You can hard code character directly or use designated keyword (e.g. supported keywords are {doublequote} {semicolon} {tab}, {cr}, {lf}, {null}). You can also use Hex chars to search (e.g. \xff44=something). Use blank value in the second part to replace with blank. Example: {null}=\0;"="";{semicolon}=\{semicolon};{cr}=\r;{lf}=\n;{tab}=\t;{columndelimiter}=\{columndelimiter};\xff32=;\xff31=;{null}=; |
| SplitFiles |
Split into multiple files (when split enabled you can split by filesize or rowcount. Check --splitsize and --splitrows options). |
| MaxSizePerFile |
Maximum size per file. You can specify in bytes,kb,mb or gb. Example: 10mb, 5000kb, 1gb, 2000bytes |
| MaxRowsPerFile |
Maximum rows per file |
| MaxRowsToExport |
Maximum number of rows to export. |
| Culture |
Culture setting for this task. This option is useful to control output format for certain data types (e.g. number, decimal) based on regional settings. In USA dot is used for decimal indicator but in Germany it may be comma. Leave this blank if you want to use system default settings. |
| AlwaysQuoteRegardlessDataType |
By default Boolean and numeric values are not placed around quotes (when quoted value setting enabled). If you want to change this behavior set this option to true |
| LoggingMode |
Available Options (Use numeric value listed in bracket if you have to define expression on this property (for dynamic behavior).
| Option |
Description |
| Normal [0] |
Normal |
| Medium [1] |
Medium |
| Detailed [2] |
Detailed |
| Debugging [3] |
Debugging |
|
| PrefixTimestamp |
When you enable this property it will prefix timestamp before Log messages. |


