| Property Name |
Description |
| LoggingMode |
LoggingMode determines how much information is logged during Package Execution. Set Logging mode to Debugging for maximum log.
Available Options (Use numeric value listed in bracket if you have to define expression on this property (for dynamic behavior).
| Option |
Description |
| Normal [0] |
Normal |
| Medium [1] |
Medium |
| Detailed [2] |
Detailed |
| Debugging [3] |
Debugging |
|
| PrefixTimestamp |
When you enable this property it will prefix timestamp before Log messages. |
| OutputMode |
Determines CSV format and output mode (e.g. one CSV for all input rows or one CSV for each input row)
Available Options (Use numeric value listed in bracket if you have to define expression on this property (for dynamic behavior).
| Option |
Description |
| SingleFileFormat [0] |
Output Single Csv for multiple input rows (Batching Allowed) |
| MultiFileFormat [1] |
Output One Csv Document per parent row |
|
| LayoutInfo |
Defines shape of output CSV string |
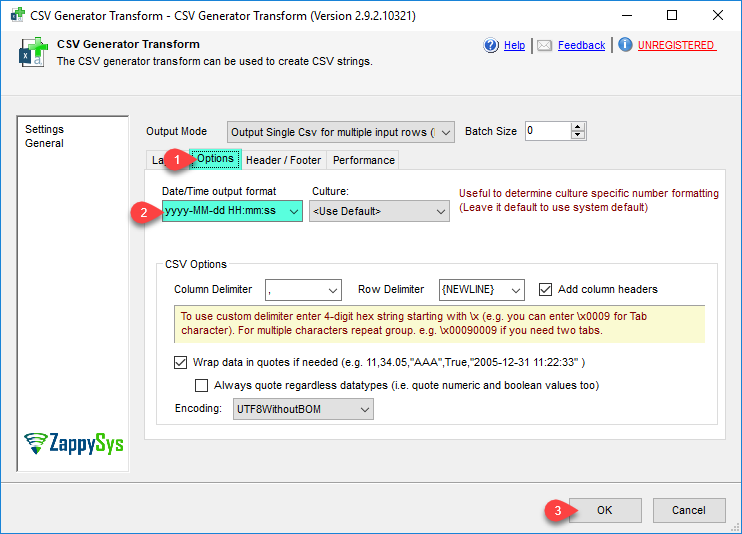
| DateTimeFormat |
Default output format for datetime columns |
| Culture |
Culture setting for this task. This option is useful to control output format for certain data types (e.g. number, decimal) based on regional settings. In USA dot is used for decimal indicator but in Germany it may be comma. Leave this blank if you want to use system default settings. |
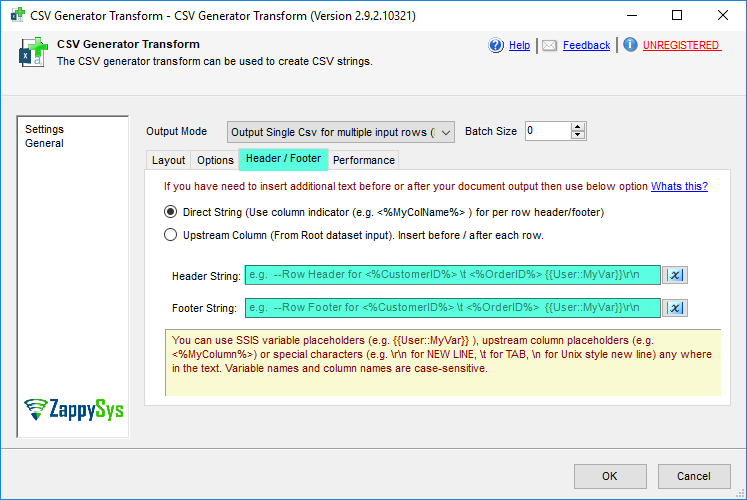
| UseColumnForHeaderFooter |
Document Header/Footer text come from upstream column rather than direct string |
| DocumentHeader |
Header text for document (Added before each document in the output) |
| DocumentFooter |
Footer text for document (Added after each document in the output) |
| ArrayBatchSize |
Specifies how many rows to include in each batch (Array records for single dataset array mode). 0=Include all in one batch. This setting is only valid for Mode=[Single Dataset Array] |
| Encoding |
Specifies encoding for data. If you set CharacterSet property then Encoing is ignored.
Available Options (Use numeric value listed in bracket if you have to define expression on this property (for dynamic behavior).
| Option |
Description |
| Default [0] |
Default |
| ASCII [1] |
ASCII |
| UTF8 [2] |
UTF-8 |
| UTF16 [3] |
UTF-16 LE (i.e. Unicode Little Endian) |
| UTF32 [4] |
UTF-32 |
| UTF8WithoutBOM [5] |
UTF-8 Without BOM |
| UTF32WithoutBOM [6] |
UTF-32 Without BOM |
| UTF7 [7] |
UTF-7 |
| UTF7WithoutBOM [8] |
UTF-7 Without BOM |
| UTF16WithoutBOM [9] |
UTF-16 Without BOM |
| BigEndian [10] |
UTF-16 BE (i.e. Unicode Big Endian) |
| BigEndianWithoutBOM [11] |
UTF-16 BE Without BOM |
|
| CharacterSet |
Character set name (i.e. ISO-8859-1) or code page number. If you set this property then Encoding property will be ignored. To output without BOM set this property to blank and use Encoding instead. |
| RowDelimiter |
Row separator for data files (If this is not specified then New line is used). (NOTE: use \t for tab, \r\n for new line (This is default), \r for carriage return, \n for new line). You can type any string here including special values such as {SPACE}, {NEWLINE}, {TAB}, {CR}, {LF}, {CRLF}. To use Hex code for seperator you may use \xNN (for ascii) or \xNNNN (for unicode charcter). For example \x221E will use infinity symbol as column seperator. |
| ColumnDelimiter |
Field separator for data files. (NOTE: use \t for tab, \r\n for new line (This is default), \r for carriage return, \n for new line). You can type any string here including special values such as {SPACE}, {NEWLINE}, {TAB}, {CR}, {LF}, {CRLF}. To use Hex code for seperator you may use \xNN (for ascii) or \xNNNN (for unicode charcter). For example \x221E will use infinity symbol as column seperator. |
| FirstRowHasColumnNames |
Indicates whether first row has column names (Default is true) |
| QuotesAroundValue |
Wrap quotes around value in data files |
| AlwaysQuote |
Quotes around value regardless data type (E.g. quote around Numbers too). This option is only valid if you enable QuotesAroundValue. |