


Introduction ZappySys provides high-performance drag and drop connectors for Amazon AWS Integration. In this post, we will see How to Read / Write / Delete Amazon SQS Queue data in SSIS using ZS Amazon SQS components. ZappySys developed many AWS related components but in this article, we will look at 2 components for Amazon SQS […]
|
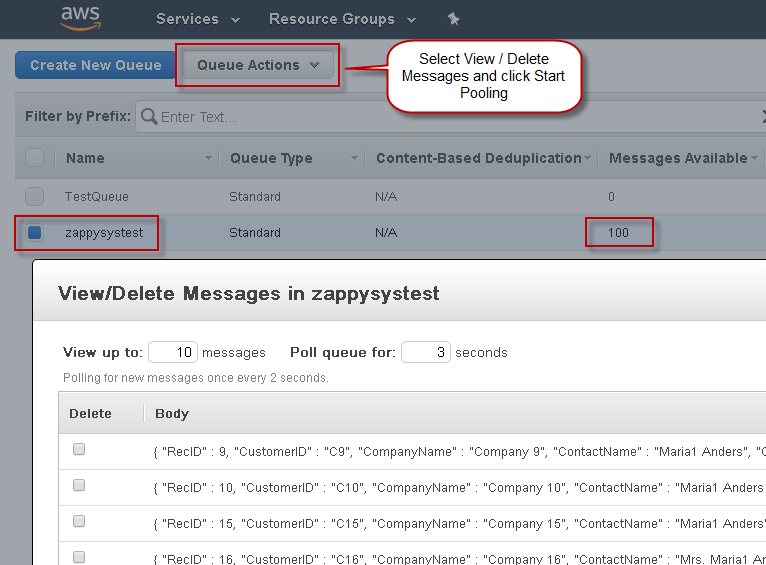
SSIS Amazon SQS Destination
|
 
|