Introduction
Please visit this page to see all Pre-Configured ready to use API connectors which you can use in SSIS API Source / SSIS API Destination OR API ODBC Driver (for non-SSIS Apps such as Excel, Power BI, Informatica).
 In this article you will learn how to automate/integrate MailChimp API calls inside SSIS without any coding efforts. Historically anytime you want to access API or Automate workflow you have to use SDKs or write custom script which can be very time consuming and expensive effort. If you are looking for drag and drop approach rather than coding for your MailChimp API integration then this article is perfect for your need.
To call MailChimp REST API inside SSIS we you will need to download SSIS PowerPack. Following SSIS task/components can help you to call any API and parse JSON response into table format (i.e. Rows and Columns) which you can write to any Destination later (i.e. Load MailChimp data into SQL Server or other way around).
Calling MailChimp API two different ways in SSIS
MailChimp API offers two different ways to authenticate your API requests.
- Use OAuth 2.0 Authorization
- Use Basic Authorization (Use API Key)
Method-1 : Use OAuth 2.0 Authentication – Call MailChimp API using SSIS REST API Task
This section will show you how to call MailChimp API using OAuth 2.0 protocol. Simplest way to test our MailChimp API call is use REST API Webservice Task.
- Download and Install SSIS PowerPack (Click here to download). It includes 40+ components which can help you with any JSON or API Integration scenario inside SSIS
- Open / Create SSIS Project
- Drag ZS REST API Task from SSIS Toolbox
- Double click REST API Task to configure it
- Set Url Access mode to [Url from Connection]
- From connection dropdown select New OAuth Connection
- Select Provider = MailChimp
- Click Generate Token and once done Click Test and OK to save UI
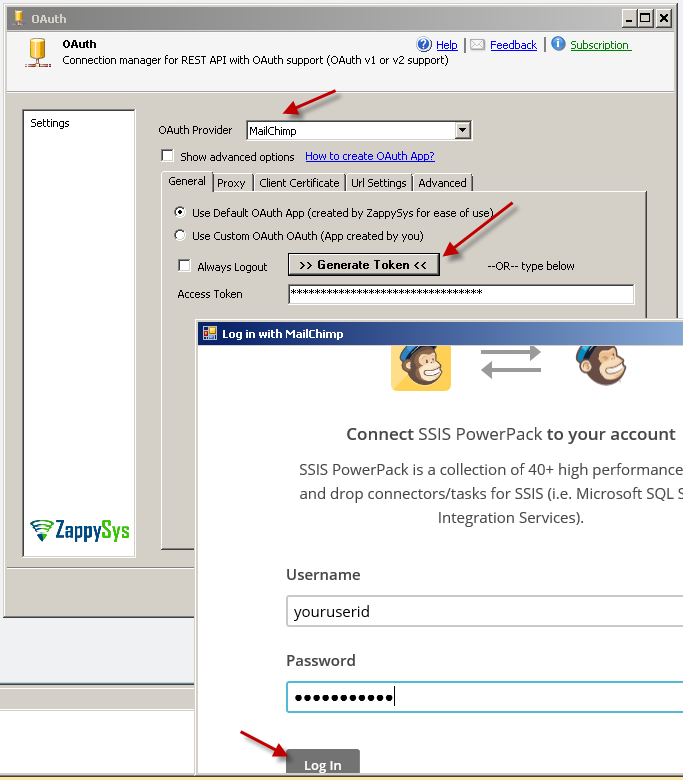
SSIS MailChimp OAuth Provider – OAuth connection manager
- Once you are back to REST API Task enter following partial URL in URL box. Notice that we have not supplied full URL because depending on which region you are MailChimp may be using different URL for API access (e.g. https://us14.api.mailchimp.com/3.0/campaigns ). If you don’t specify full URL then OAuth connection manager automatically determines correct Data center for you and prepares correct URL at runtime.
1/3.0/campaigns - Click Test Request – Scroll to see Content (you should see JSON like below)
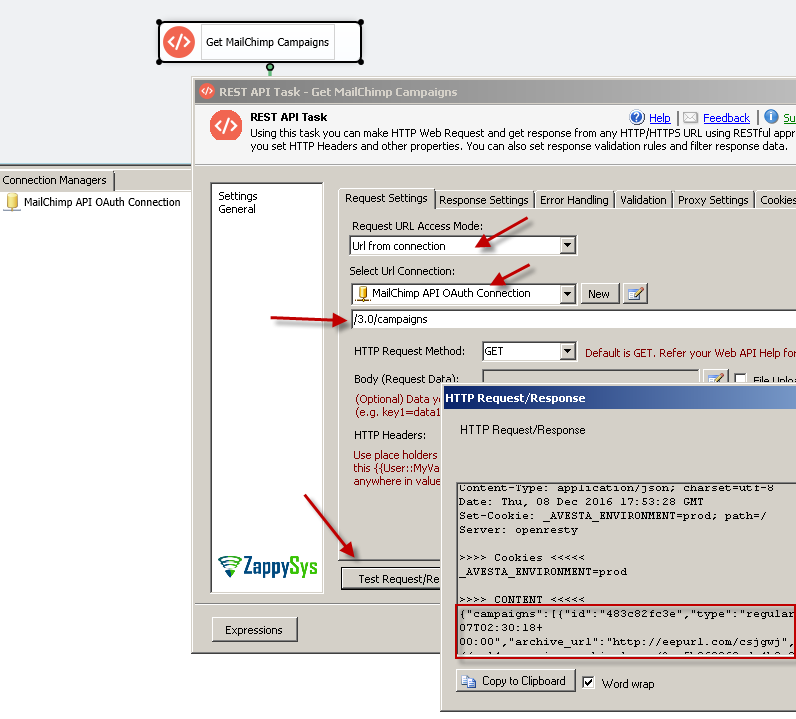
Call MailChimp API using SSIS REST API Task (Use OAuth 2.0 Connection Manager)


Method-2 : Use Basic Authentication – Call MailChimp API using SSIS REST API Task
Simplest way to test our MailChimp API call is use REST API Webservice Task.
- Download and Install SSIS PowerPack (Click here to download). It includes 40+ components which can help you with any JSON or API Integration scenario inside SSIS
- Open / Create SSIS Project
- Drag ZS REST API Task from SSIS Toolbox
- Double click REST API Task to configure it
- Set Url Access mode to [Url from Connection]
- From connection dropdown select New HTTP Connection
- Enter any valid URL e.g. https://us14.api.mailchimp.com/3.0/campaigns (If you are not sure what is your DC then try to call https://login.mailchimp.com/oauth2/metadata URL first and get response via REST API Task – Test to see api_endpoint URL)
1https://us14.api.mailchimp.com/3.0/campaigns - Click use credentials. Click Use userid/password option
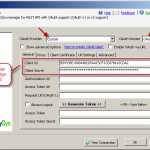
- Enter any fake userid (this is ignored) and Valid API Key in Password field. If you are not sure how to get Mailchimp API Key then check this article
- Click OK to save HTTP connection
- Click Test Request – Scroll to see Content (you should see JSON like below)
Get data from MailChimp API and load into SQL Server
In previous section we saw how to use REST API Task to call any MailChimp API. It can do POST / PUT / DELETE try of requests. Another scenario could be read data from MailChimp and load into SQL Server (i.e. your local Data warehouse). For this purpose you can use JSON Source. It can parse JSON response into Rows and columns. Also it supports pagination so you can loop through response.
- Download and Install SSIS PowerPack (Click here to download). It includes 40+ components which can help you with any JSON or API Integration scenario inside SSIS
- Open / Create SSIS Project
- Drag and drop Data flow task in SSIS designer from SSIS Toolbox
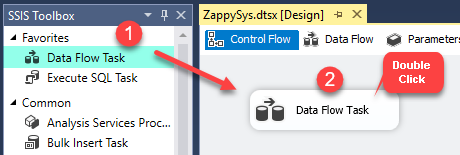
Dragging and dropping Data Flow Task into Control Flow
- Double click Data flow to open Data flow designer
- From SSIS toolbox find ZS JSON Source and drag on the surface
- Double click to configure JSON source
- Set Access mode to [Path or URL from Connection]
- Before entering URL check option [Use credentials] and Select existing OAuth connection manager created in Previous section (i.e. Method-1 : Use OAuth)
- Now we have to enter API URL. First determine endpoint assigned to your account. For that enter https://login.mailchimp.com/oauth2/metadata and click preview. Copy url from api_endpoint column found on the preview window. Once copied click OK to close
- Now Use API endpoint URL (copied from previous step) and append version number (i.e. /3.0) and API (i.e. /campaigns) you like to call. Your final URL may be something like below. Our DC was us14 yours can be different.
1https://us14.api.mailchimp.com/3.0/campaigns - Once you enter correct API URL click on Select Filter button to select correct hierarchy you want to extract. If API response contains records inside JSON array then select that as your filter. For example if you getting list of all campaigns then your Filter may be like $.campaigns[*]
- Once filter is specified, click Preview.
- Click on columns tab to review columns and metadata. You can change default length or datatype. If you change default metadata then make sure to check Lock option (last column – right side) so it stays there when metadata refresh occurs
- Click OK to save UI
- Now you can connect your JSON source to any destination such as SQL Server (Use OLEDB or ADO.net Destination component)
- Execute SSIS Package to see data in destination
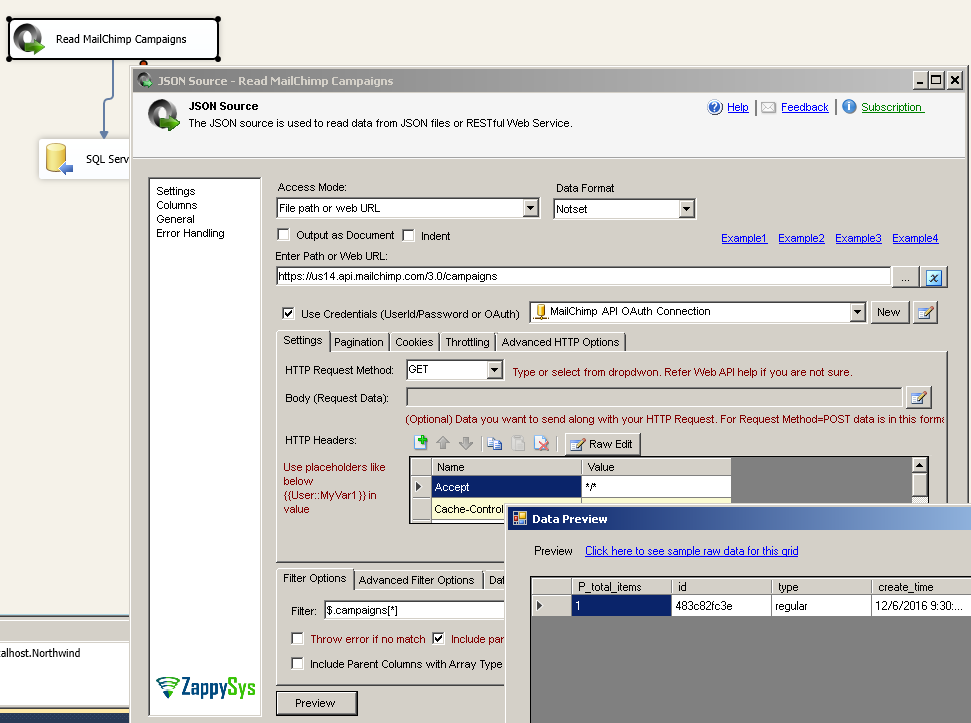
Load MailChimp data into SQL Server – Use SSIS JSON Source to call REST API
MailChimp REST API Pagination
If you have many records then most likely your response will be partial. To fetch all records from MailChimp you have to use Pagination technique. Read this article for more information
Page number is indicated by offset query string parameter in URL as below. 0 mean first page. When pagination method is used on JSON source it will automatically increment offset and fetch data from next URL until no more records found for selected expression in JSON (e.g. $.campaigns[*] )
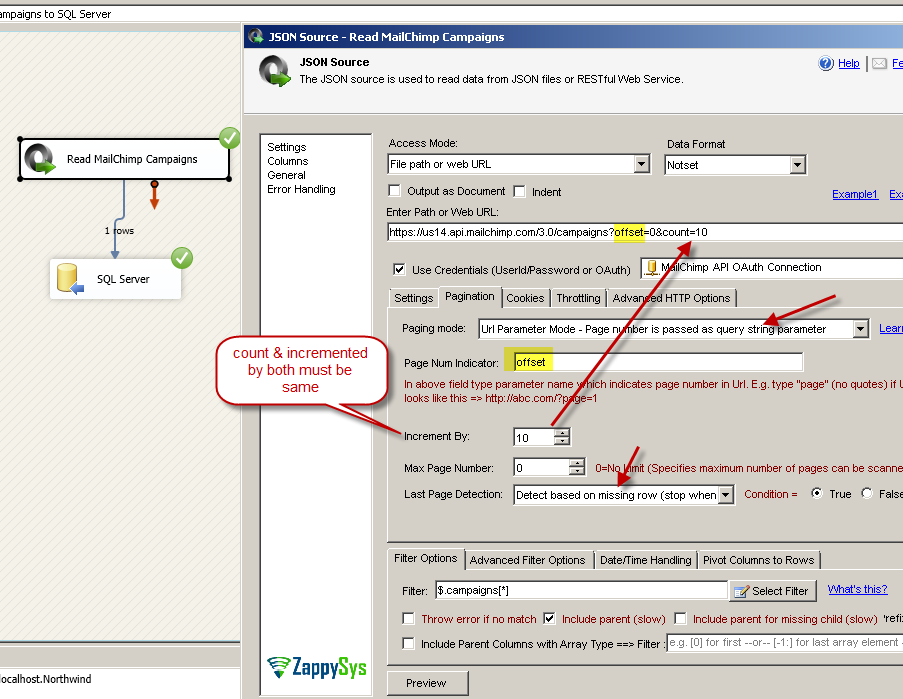
MailChimp API Pagination using SSIS JSON Source
Conclusion
As you saw how easy it is to consume MailChimp API using SSIS without any coding. SSIS PowerPack is one of the finest toolset for virtually any API or JSON integration project. Click here to Try SSIS PowerPack for FREE.